
FBSnapshotTestCase installation failed with CocoaPods 1.0.0.rc.2 while in preparation for an upcoming presentation to Philadelphia CocoaHeads. I gave Carthage a try, and it worked! I wanted to write it up and share it with you. Now I know that switching to Carthage may not work for everyone just to use a test framework, but maybe there’s a hybrid solution that you could come up with?
What is FBSnapshotTestCase
FBSnapshotTestCase is a testing framework that was originally written at Facebook by Jonathan Dann with significant contributions from Todd Krabach. As a testing framework, it allows you to test the user interface of your iOS app by diff’ing screenshots. Yep, you heard me write, you literally take a source screenshot, mark it as “correct” and then all future runs of the test suite use this as the basis for determining if the test passes or not.
As my preferred channel, and as the README suggested, I wanted to install FBSnapshotTestCase with CocoaPods, but this issue prevented me from doing so in a Swift project. Instead, I tried using Carthage and was successful.
FBSnapshotTestCase Installation with Carthage
Step 1: Download Carthage
Carthage is an alternate dependency management framework, one that is more lightweight than CocoaPods (and doesn’t require Ruby! YEY). If you don’t have Carthage installed, download the latest .pkg file from here. I used 0.16.2 for this tutorial. FBSnapshotTestCase Installation was really easy with Carthage.
Step 2: Create a Cartfile
In the root of your project, create a new file called Cartfile. Add this to it:
github "facebook/ios-snapshot-test-case"
The Cartfile contains your dependencies for the project. While you can specify versions of your dependencies, I was content just picking the latest release, and thus didn’t specify a version.
Step 3: Install the Dependencies
Now that you have a Cartfile, the next thing to do is install the dependencies with Carthage. To do this, from a shell, run:
carthage update --platform iOS
You’ll see output like:
*** Fetching ios-snapshot-test-case
*** Checking out ios-snapshot-test-case at "2.1.0"
*** xcodebuild output can be found in /var/folders/mp/k1jy2r2d3gg9bzkz0v9y5jxm00024f/T/carthage-xcodebuild.GOHIjS.log
*** Building scheme "FBSnapshotTestCase iOS" in FBSnapshotTestCase.xcworkspace
A new Carthage/ directory will be created with your dependencies. Carthage is different from CocoaPods, in that, you now need to manually configure the libraries within your Xcode project.
Step 4: Add Dependencies to Your Project
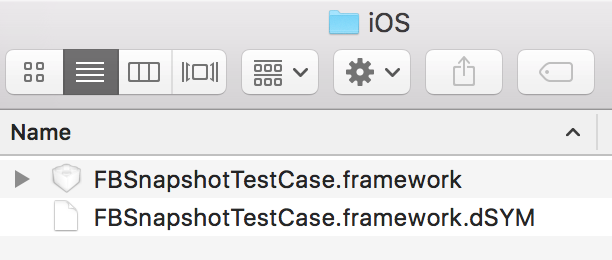
Open a Finder window for the root folder of your project, and then navigate down the hierarchy to Carthage/Build/iOS. You should see the framework for FBSnapshotTestCase.
Now, in Xcode, open the target settings for your test target, in my case it’s called SnapshotExampleTests, and then select the Build Phases tab, and then expand Link Binary With Libraries. Drag the framework in there:
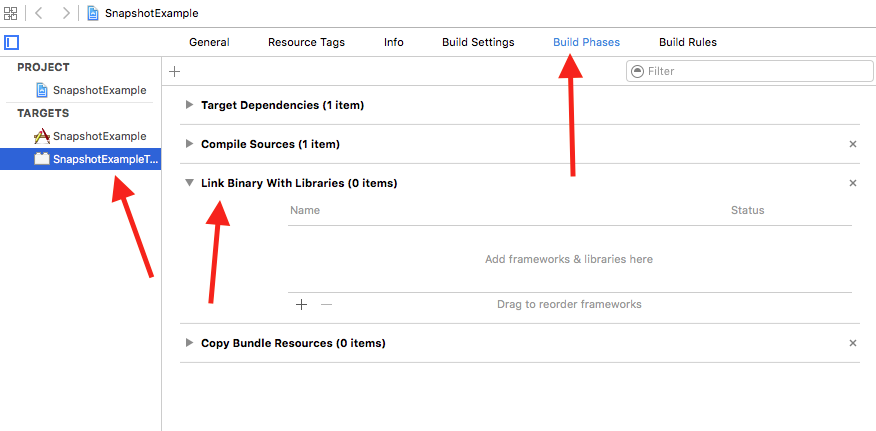
It will then look like:

Step 5: Add a FBSnapshotTestCase
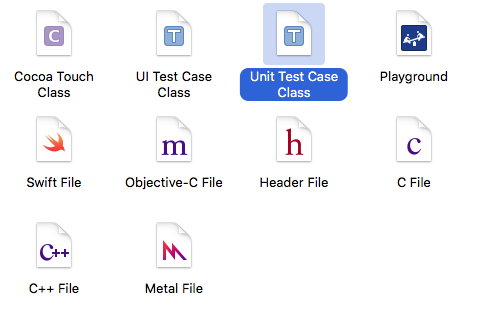
Create a new unit test (File -> New -> File):
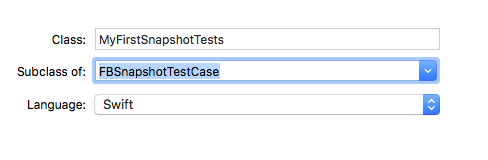
And specify it as a subclass of FBSnapshotTestCase
At the top of the file, replace:
import XCTest
with
import FBSnapshotTestCase
At this point, you can try running your new FBSnapshotTestCase (Command-U). Everything should compile, but the test will fail.
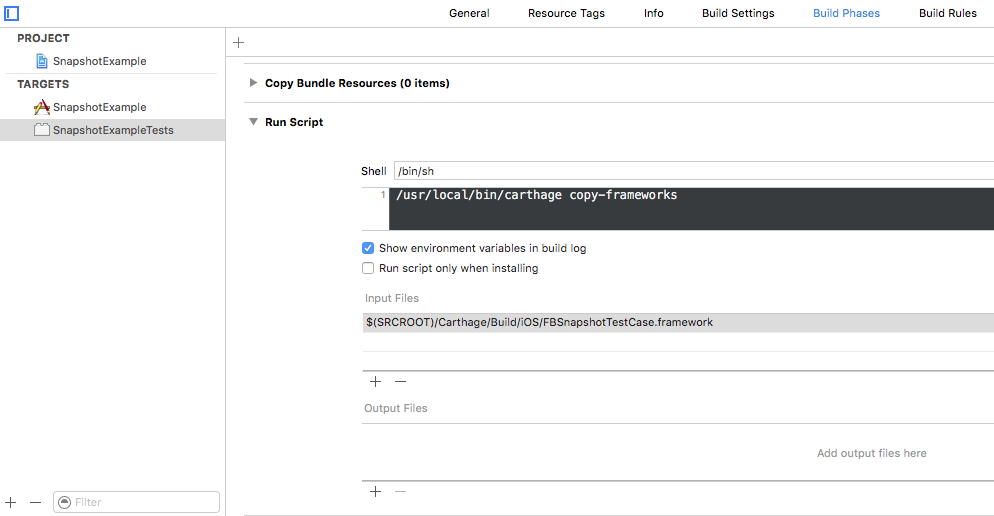
Step 6: Copy-Frameworks
I’ll be honest, I’m not really sure why this final step is necessary, but without it, the tests would not pass. Carthage’s README indicates it’s necessary for an “App Store submission bug” but I’m not even archiving here, just running tests.
Do this (copied right from Carthage’s [README]):
On your application targets’ “Build Phases” settings tab, click the “+” icon and choose “New Run Script Phase”. Create a Run Script in which you specify your shell (ex: bin/sh), add the following contents to the script area below the shell:
/usr/local/bin/carthage copy-frameworks
and add the paths to the frameworks you want to use under “Input Files”, e.g.:
$(SRCROOT)/Carthage/Build/iOS/FBSnapshotTestCase.framework
It should now look like this:
Now, try to run your FBSnapshotTestCase again with Command-U. It should compile and pass your test!
Wrap Up
See, isn’t FBSnapshotTestCase installation easy? Now you’re free to go ahead and use FBSnapshotTestCase to your heart’s content. I plan to write another post that will help you through creating your first FBSnapshotTestCase. If you’re a long time CocoaPods user, I know this isn’t optimal, but hey, look at it this way, at least you have an opportunity to try out Carthage if you’ve never looked at it before.
I got a log of inspiration and ideas for installing FBSnapshotTestCase with Carthage from this article on <raywenderlich.com>.
Happy cleaning!
Just wanted to let you know the reason for the last step. For a framework to be used at runtime, it has to be both linked _and_ copied into the bundle. If it’s only linked and not copied, then the symbols aren’t found and the app crashes.
For a framework only used for unit tests, you could get away with linking and copying as normal. Ie, add it to the link phase and then add a “copy files” build phase to your unit test target with the destination set to “frameworks” and containing your framework.
The Carthage `/usr/local/bin/carthage copy-frameworks` script is effectively the same as the above, but will also ensure the dSYM’s make it into the build folder to so they make it to the app store (or Crashlytics, Hockey, what have you). So it’s not technically needed for tests, but it can’t hurt either 🙂